How to Create a DIY Planter Box and Grow Your Summer Herbs
Do-it-yourself projects are more popular than ever, and it’s no wonder why; they make for a great weekend activity and are a creative way to add handmade touches to your space. Whether it’s gardening, cooking, or simply being creative, summer is the perfect time to combine your favorite passions into a DIY project.
Chris Lambton, garden and yard care expert, suggests a seasonal project to kick off the summer months that is not only fun to create, but also will be useful for months to come.
“A great summer DIY project is creating an herb planter box,” Lambton says. “Not only can you choose your favorite herbs to grow, but you can reap the rewards by adding them to new culinary creations all summer long.”
All it takes is a few simple steps and tools to create your own custom DIY planter box.
Assemble and prepare your materials.
First, gather the wood to make your planter — you’ll need five separate pieces: two for the sides, one for the base, and two for the front and back. Measure your pieces to the dimensions of your choosing and cut them to size. Once your base piece is cut, you’ll want to add a few drainage holes to keep the herbs’ roots healthy. Use a manual drill like the Fiskars Precision Hand Drill for more precise, controlled power.
Construct your planter.
Next, nail the pieces of the planter together. Use the Fiskars Precision Hammer to nail the pieces together at right angles. This hammer is specifically designed for DIY projects in terms of weight and size, so it’s easy and comfortable to use. After your box is assembled, add some personality, such as a fresh coat of paint or stain, just be sure to sand it down before painting to ensure the color will stick. For a more rustic aesthetic, leave the wood bare.
Select your herbs.
Now comes the fun part — selecting your herbs. Basil, cilantro, chives, oregano, rosemary or thyme are great options, as they easily grow in a planter and are a great addition to any summer dish. You can purchase herbs from a local garden store and transplant them into your planter box. Or, you can grow the herbs from seeds, which is more budget-friendly and will allow you to choose from a wider selection of plant varieties.
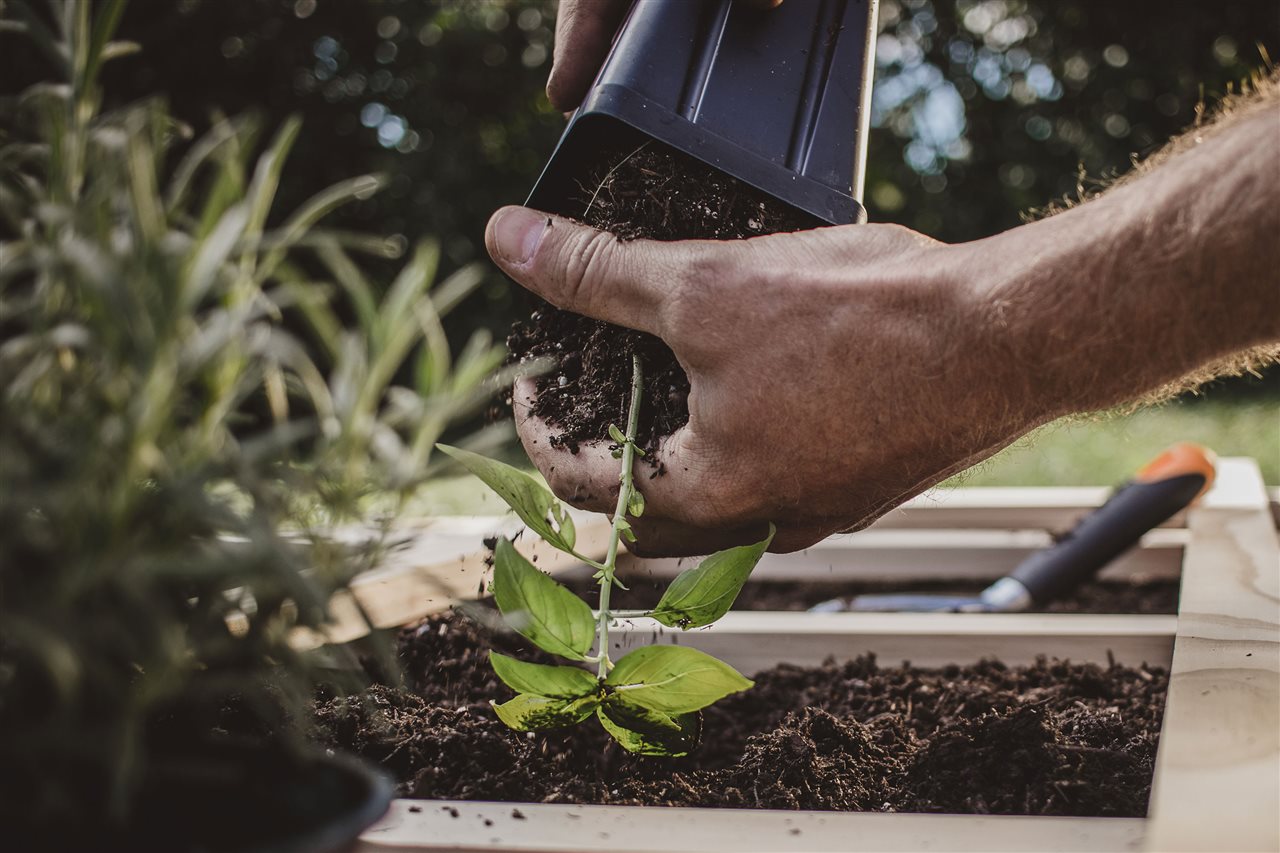
Plant the herbs.
Once you have your herbs, it’s time to start planting. Lambton recommends having Fiskars Multipurpose Garden Snips handy to quickly cut through soil bags and seedling containers. First, add a layer of dampened soil, then, drop in your seeds. Depending on the types of herbs you’re using, you’ll want to make sure they are spaced far enough apart to allow for plenty of sunlight and airflow. Next, lightly cover with soil.
Watch your planter garden grow.
Now that you’ve planted your herbs, it’s time to nourish them and watch them flourish! Most container herbs do well in a sunny location, so be sure to place your planter box in a well-lit area. They prefer not to be overwatered, so be sure to do so sparingly and slowly. Once they are thriving, harvest the fresh leaves regularly to promote growth so you can use them in your recipes all summer long.
For more DIY inspiration and ideas, from gardening and home improvement to crafting and cooking, visit Fiskars.com.


